Using Snyk webhooks with Zapier

Snyk API v1 docs are at https://snyk.docs.apiary.io/#

​Integration example

First of all, we need to create a new Zap in Zapier

Trigger

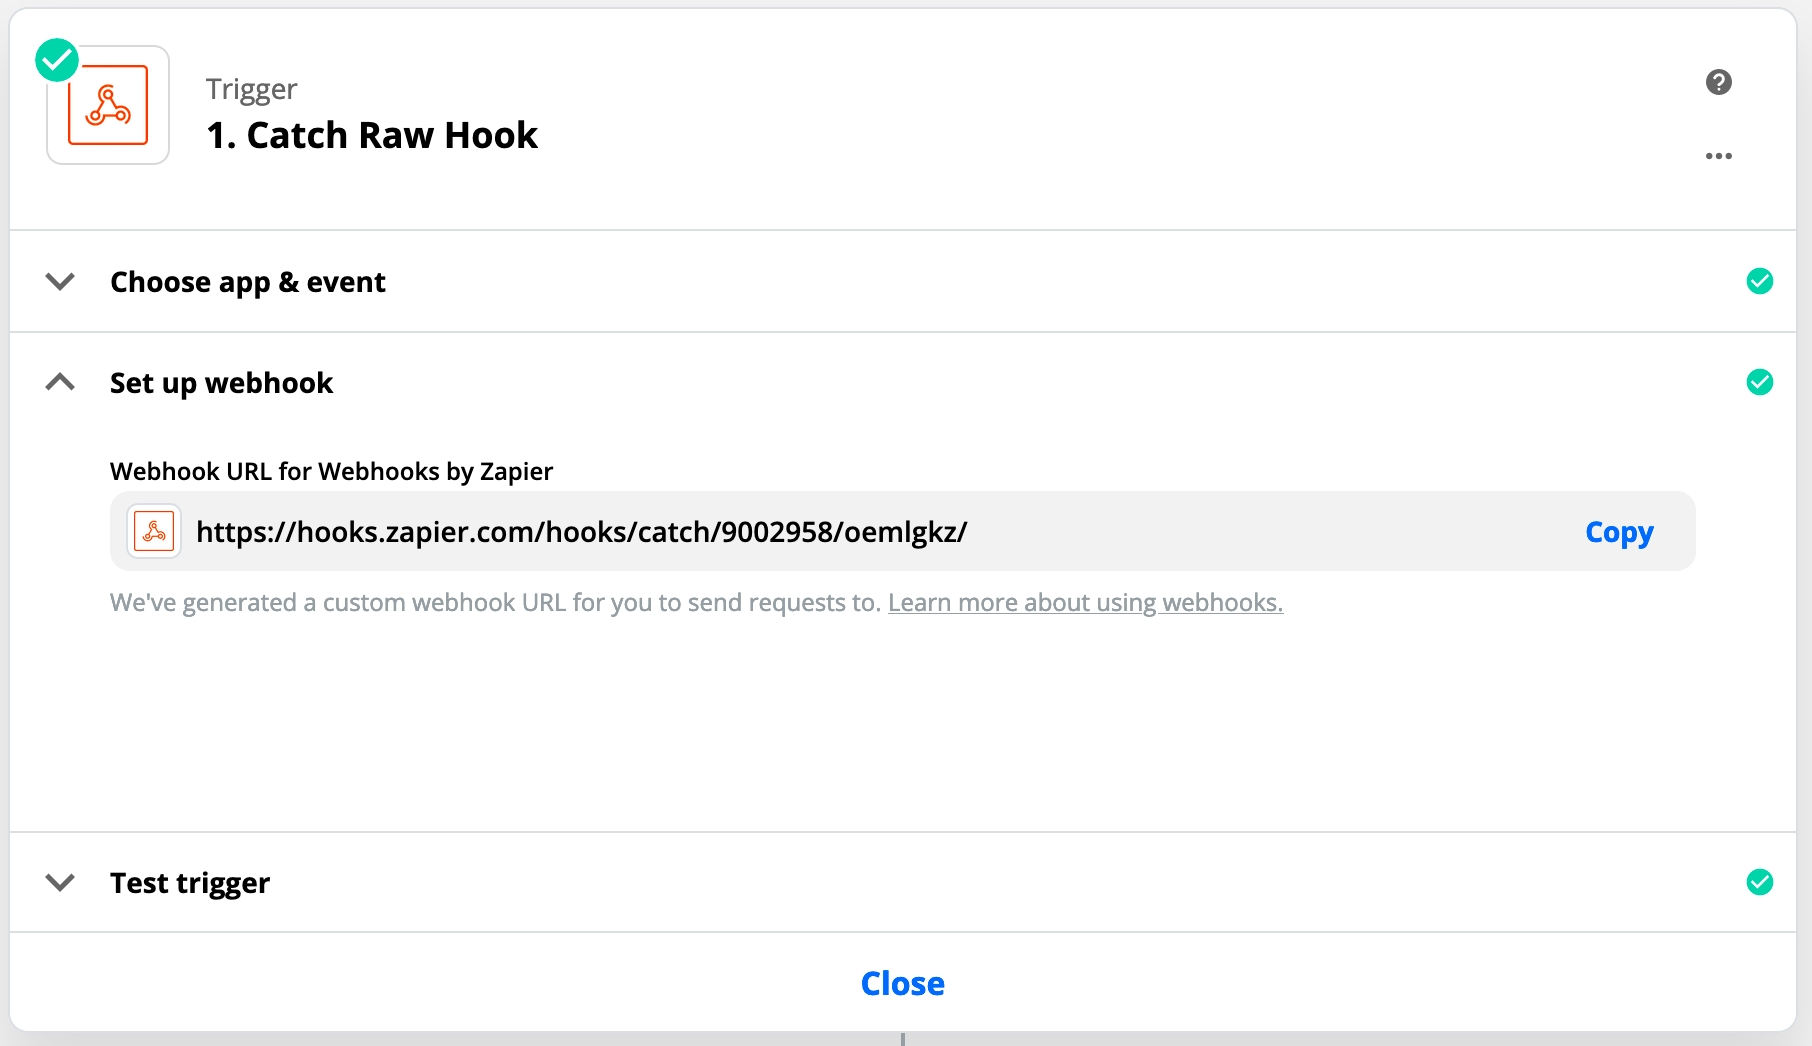
In order to have an access to request headers, we need to create "Catch Raw Hook" trigger. It comes with a disadvantage that request payload will be provided as a string and we will need to parse it to the JSON.

It will provide us a Webhook url, were we can send requests:

Now we need to create a Webhook in Snyk via API with provided url.

POST /api/v1/org/{orgId}/webhooks HTTP/2
> Host: snyk.io
> Authorization: token {authToken}
> Content-Type: application/json
| {
|   "url": "https://hooks.zapier.com/hooks/catch/9002958/oemlgkz/",
|   "secret": "my-secret-string"
| }

The API will respond with a nearly created Webhook.

< HTTP/2 200 
< Content-Type: application/json
| {
|   "id": "{webhookId}",
|   "url": "https://hooks.zapier.com/hooks/catch/9002958/oemlgkz/",
| }

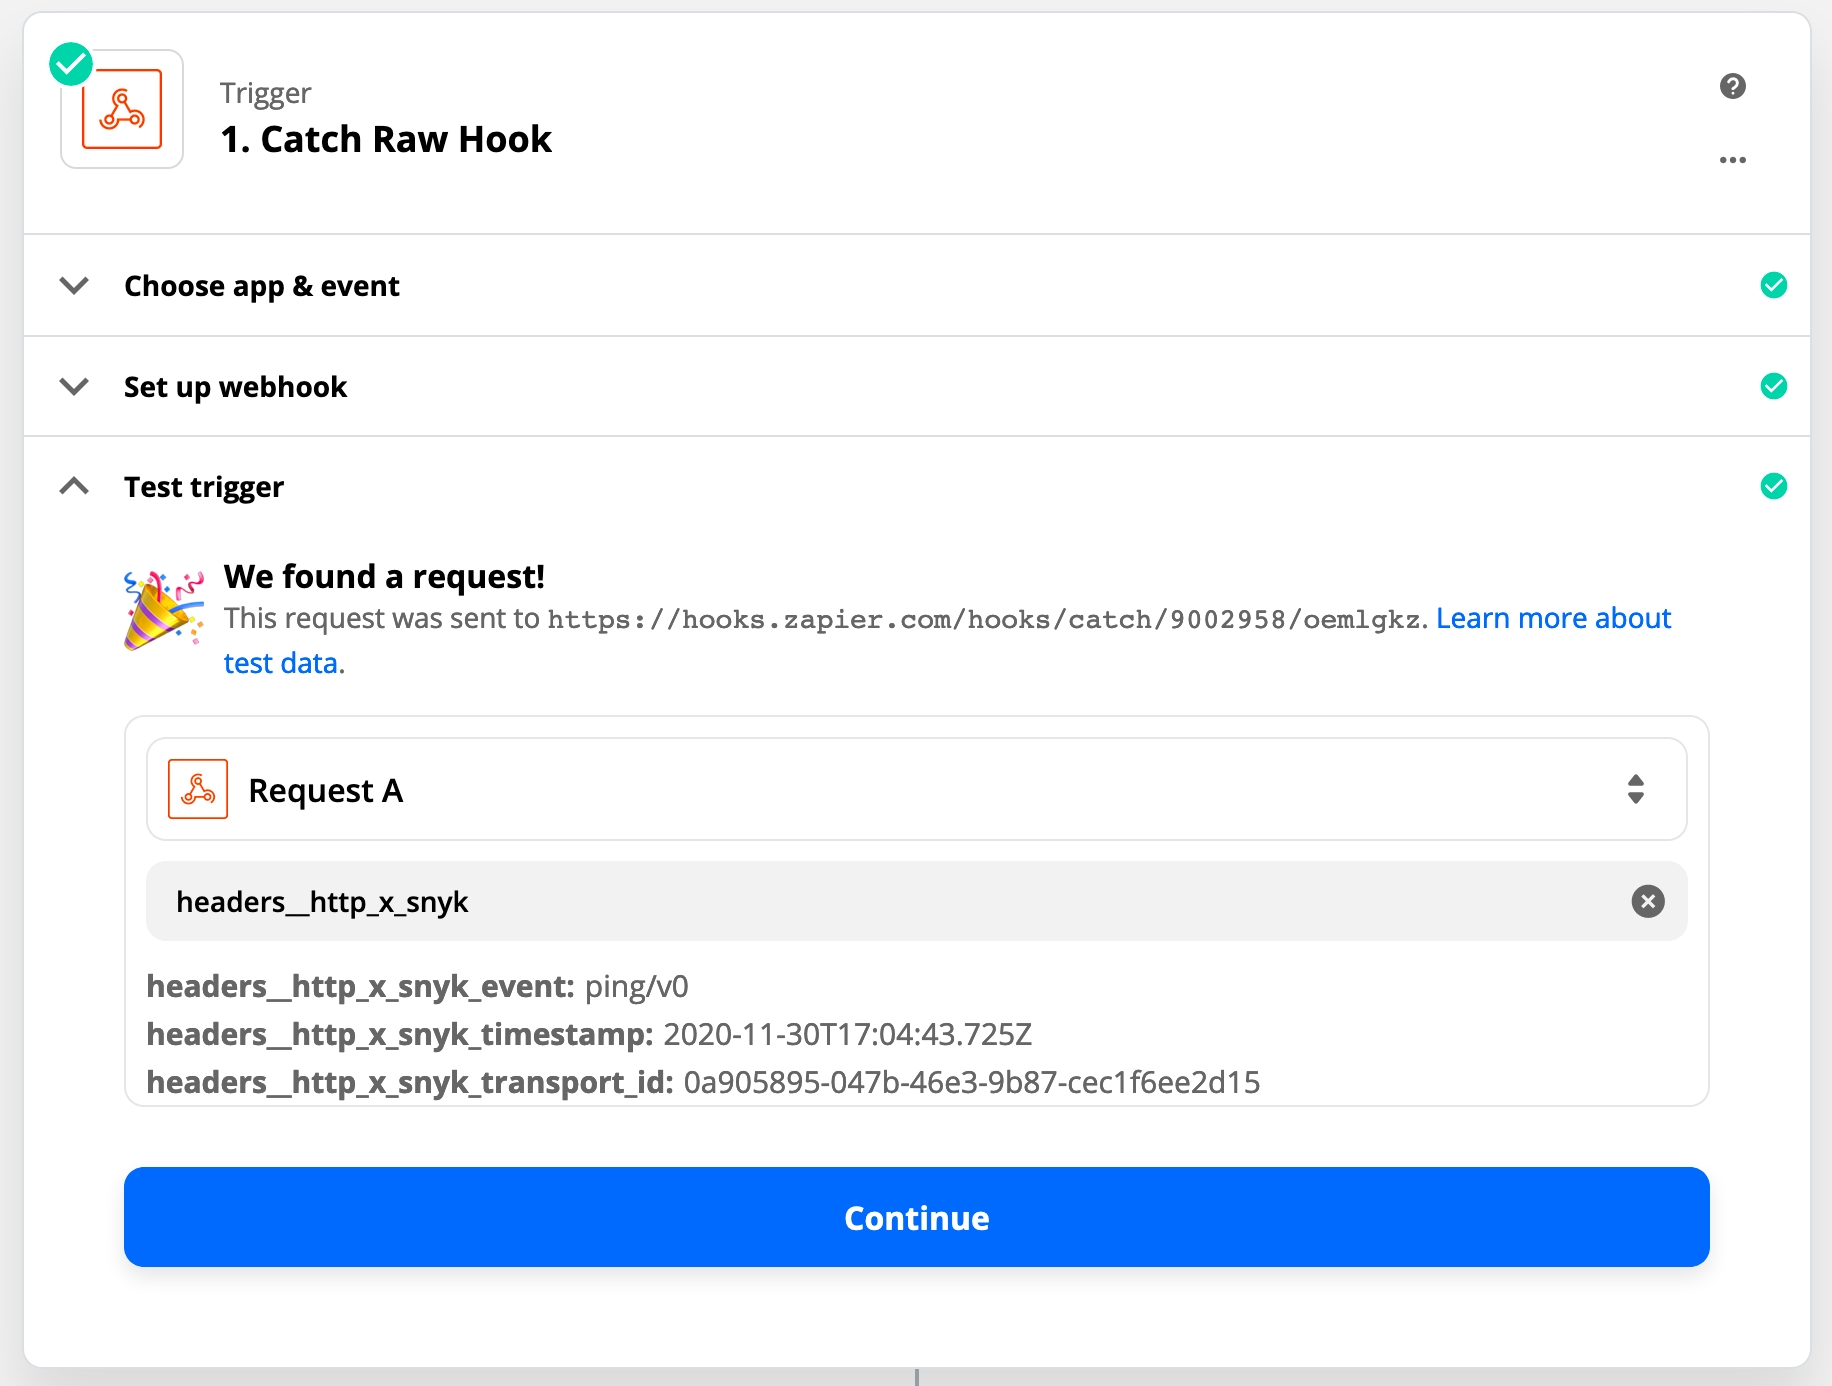
Now we are able to ping a webhook, in order to test a Zapier's trigger.

> POST /api/v1/org/{orgId}/webhooks/{webhookId}/ping HTTP/2
> Host: snyk.io
> Authorization: token {authToken}
> Content-Type: application/json

Now we will be able to select a ping request from the list, and map fields.

Action (validate a payload)

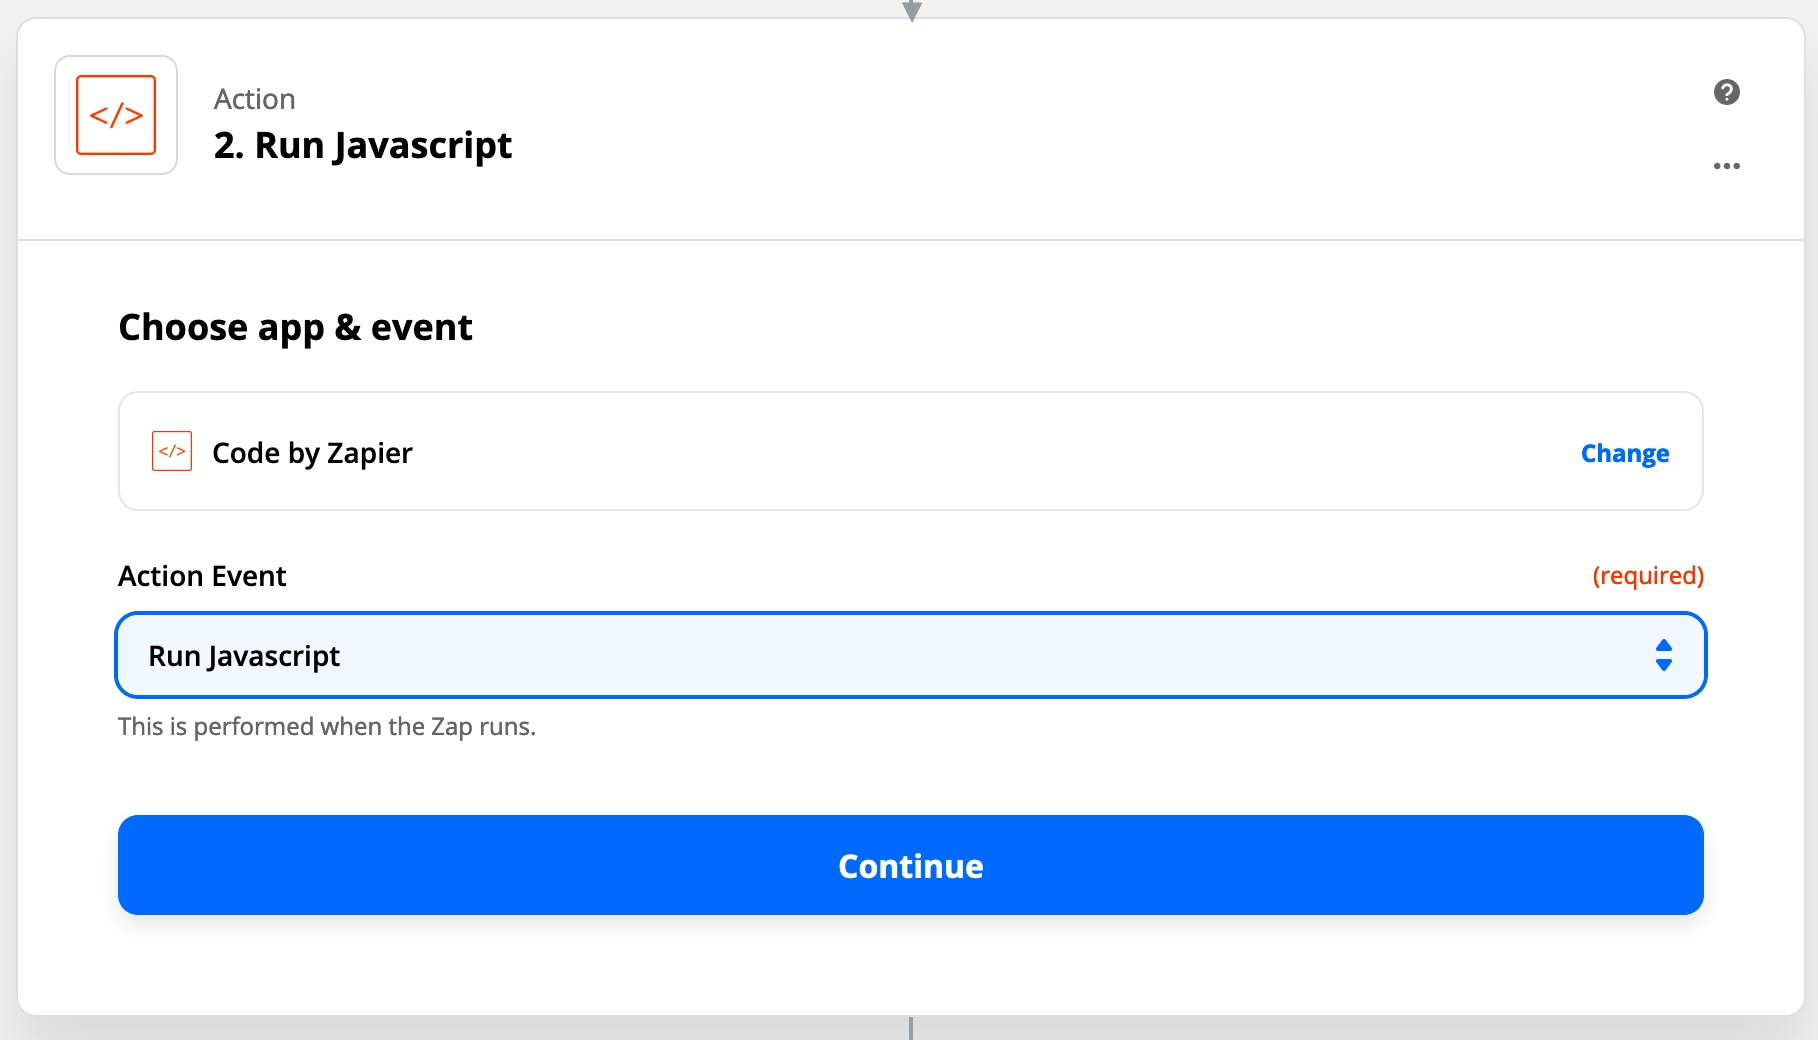
In order to validate a payload, we need to create a JS Action:

"Code by Zapier" → "Run Javascript"

We need to map headers['X-Hub-Signature'] and payload string to the snippet variables.

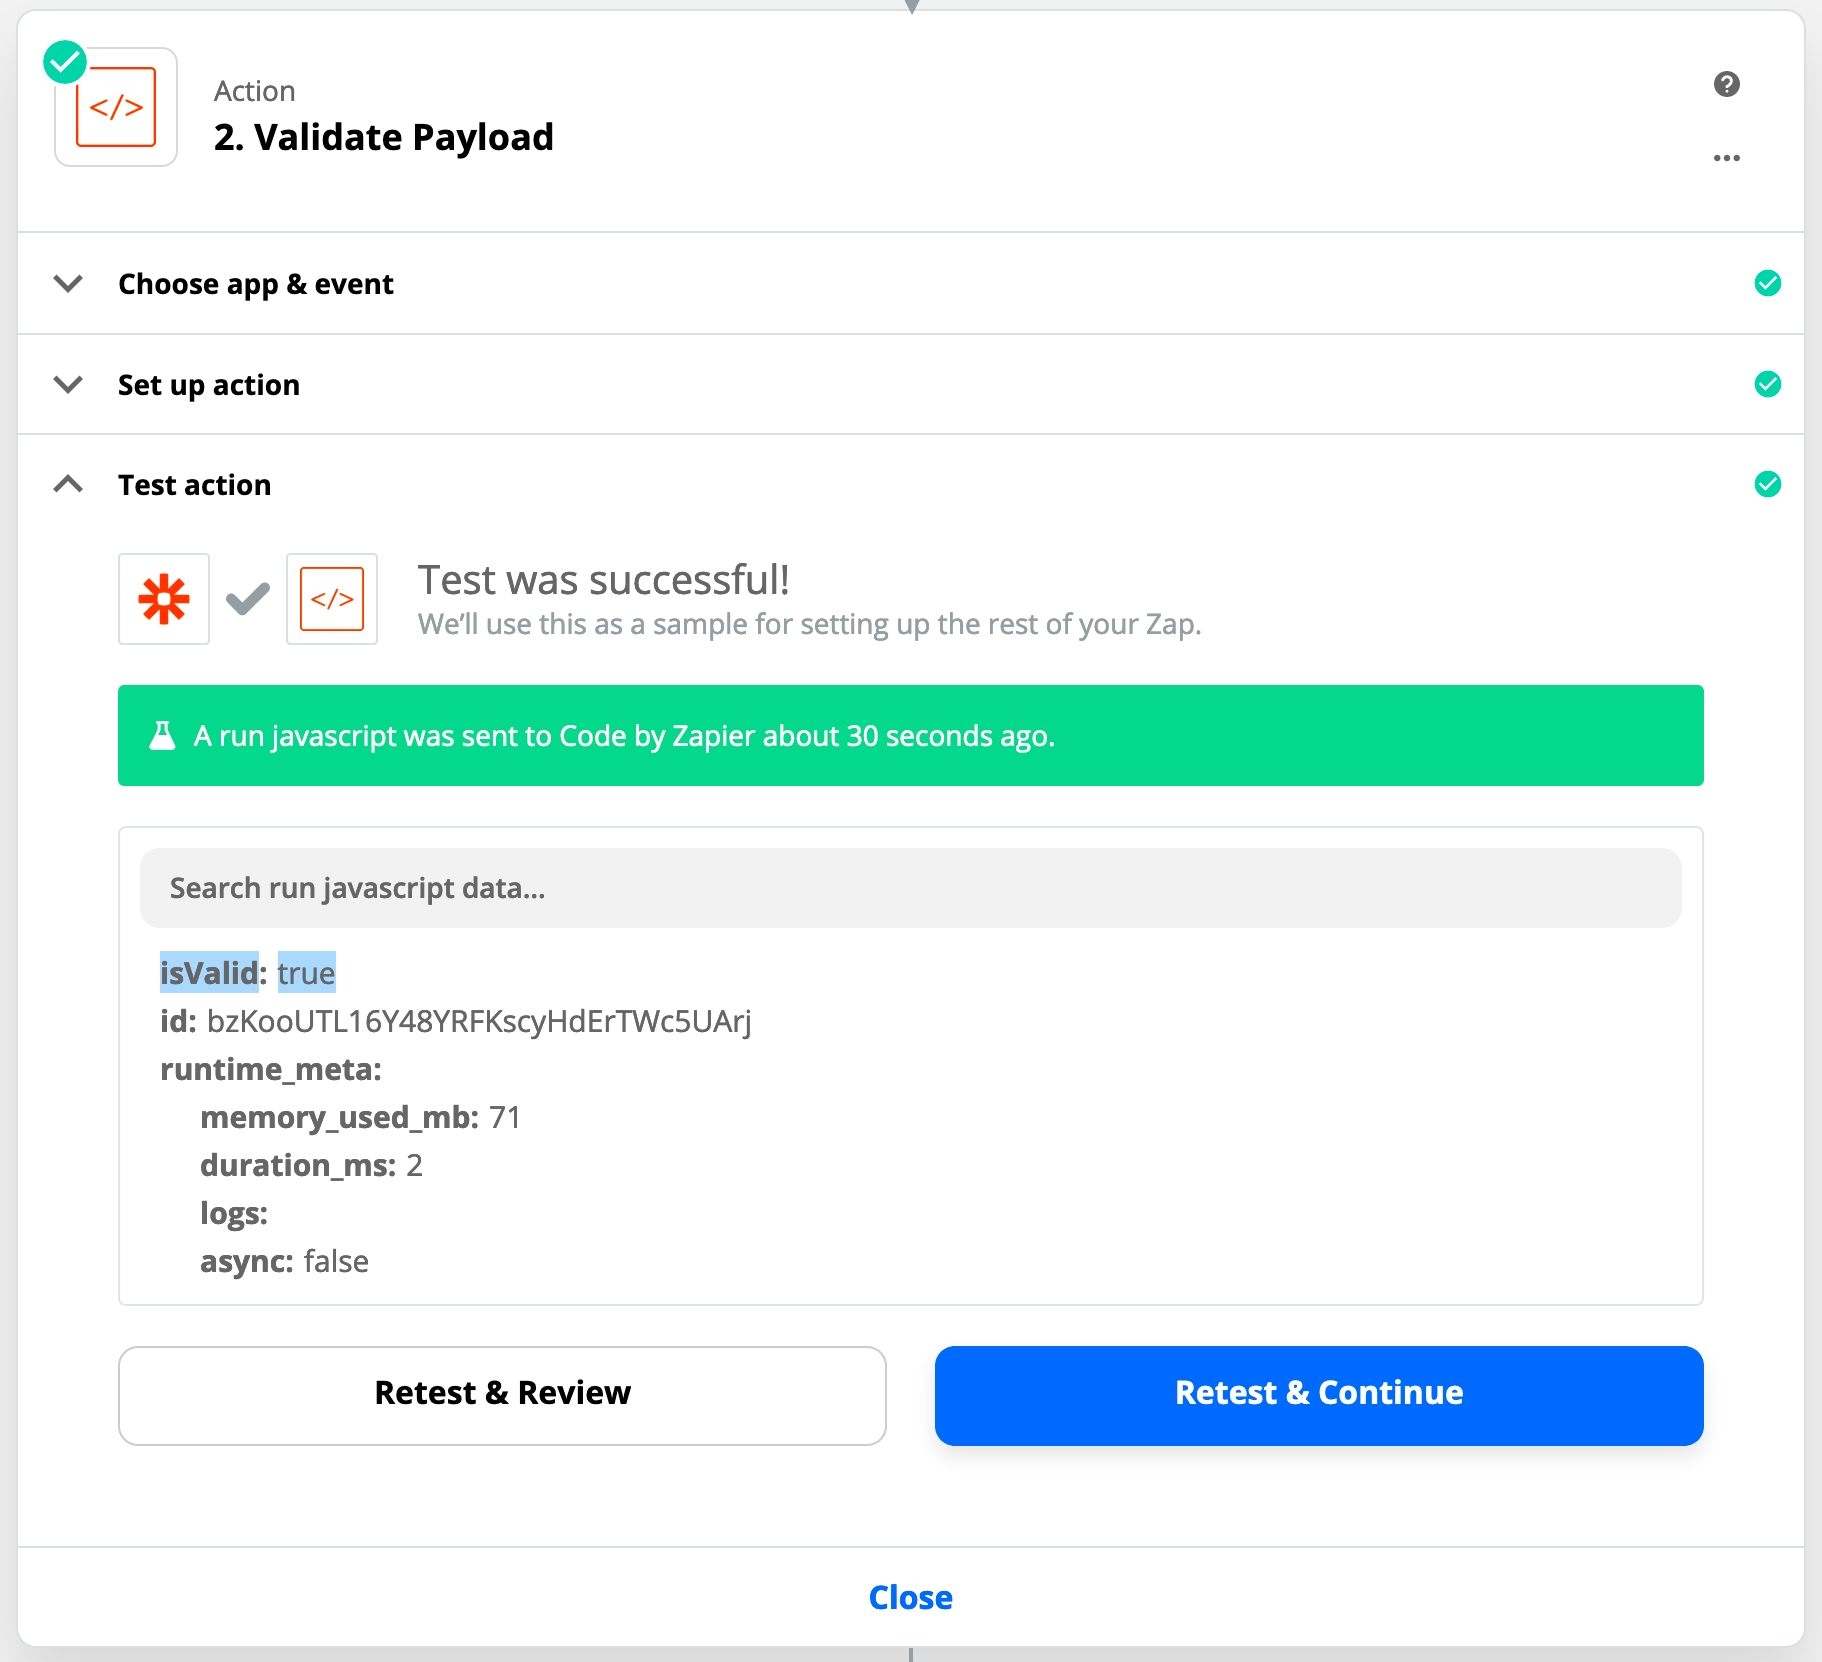
Following snippet will introduce a isValid: boolean variable to the Zap's fields.

Replace my-secret-string string with a webhook's secret string.

const crypto = require('crypto');
const secret = "my-secret-string";

function makeSignature(body, secret) {
  const hmac = crypto.createHmac('sha256', secret);
  hmac.update(body, 'utf8');

  return `sha256=${hmac.digest('hex')}`;
}

try {
  const body = JSON.parse(inputData.body);
  const { project, org, group, newIssues } = body;

  output = { 
    isValid: inputData.signature === makeSignature(inputData.body, secret)
  };
} catch (err) {
  output = { isValid: false, err: err.message };
}

Test the snippet, make sure isValid === true.

Action (parse a payload)

Let's create another action, to parse a payload from string to something Zapier can understand.

We need to create the same JS Action:

"Code by Zapier" → "Run Javascript", with the following field mapping:

And the following JS snippet:

try {
  output = JSON.parse(inputData.body);
} catch (err) {
  output = { err: err.message };
}

That will parse a request payload and map it to Zap's variables.

Action (format issues)

New issues are provided as a list of objects, unfortunately, Zapier doesn't understand that format well, rather it likes a list of strings. So We need to format newIssues to string[].

Let's create one more JS Action:

"Code by Zapier" → "Run Javascript", and paste the following snippet:

function formatIssue({ pkgName, pkgVersions, issueData }) {
  return `
  <a href="${issueData.url}">${issueData.title}</a><br/>
  Vulnerability in ${pkgName} (${pkgVersions.join(', ')}). ${issueData.severity} severity.
`;
}

try {
  const { newIssues, ...body } = JSON.parse(inputData.body);

  output = { ...body, newIssues: newIssues.map(formatIssue) };
} catch (err) {
  output = { newIssues: [], err: err.message };
}

Action (filter)

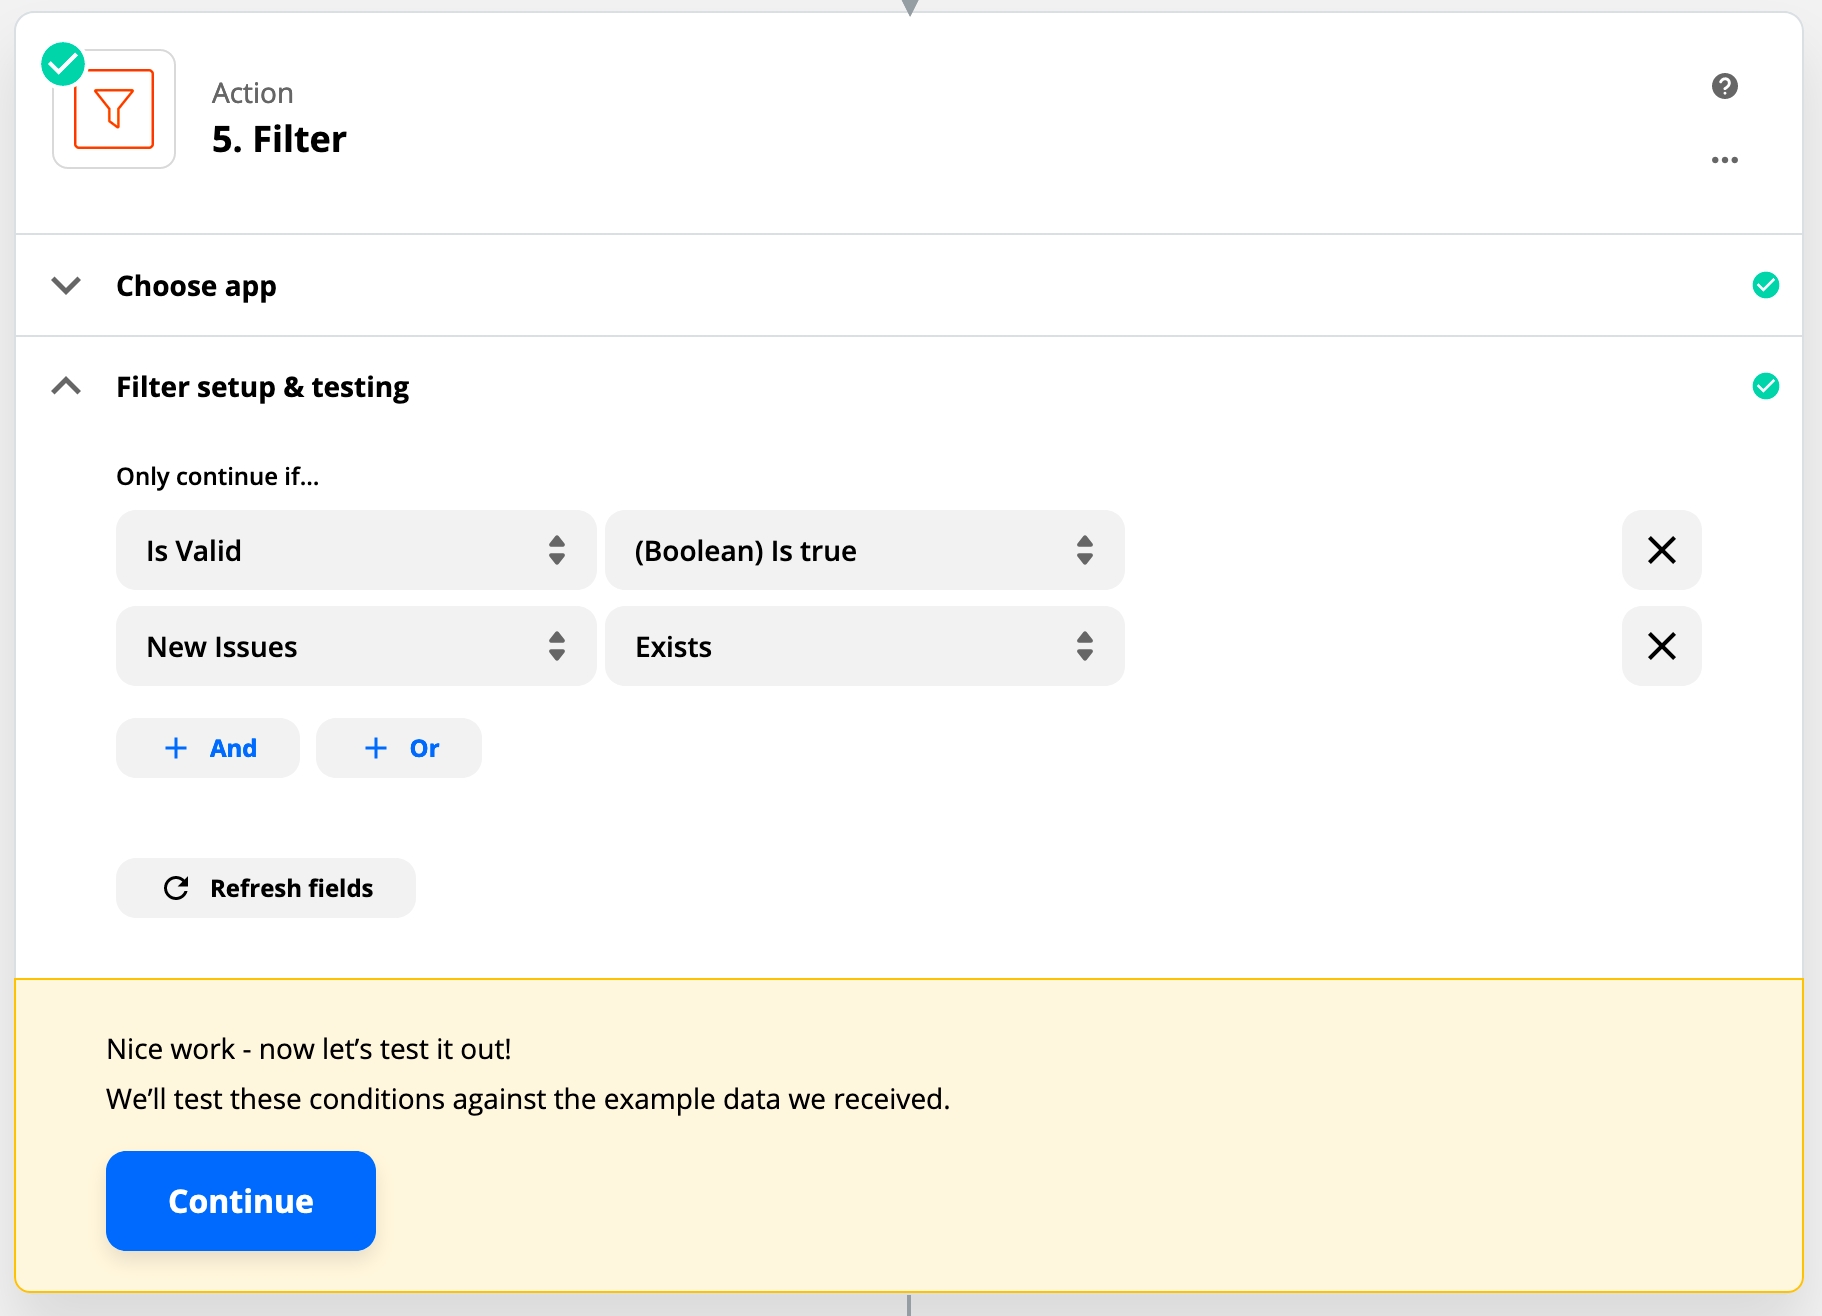
Now with all fields provided, we can decide whatever we want to do anything with an event or not.

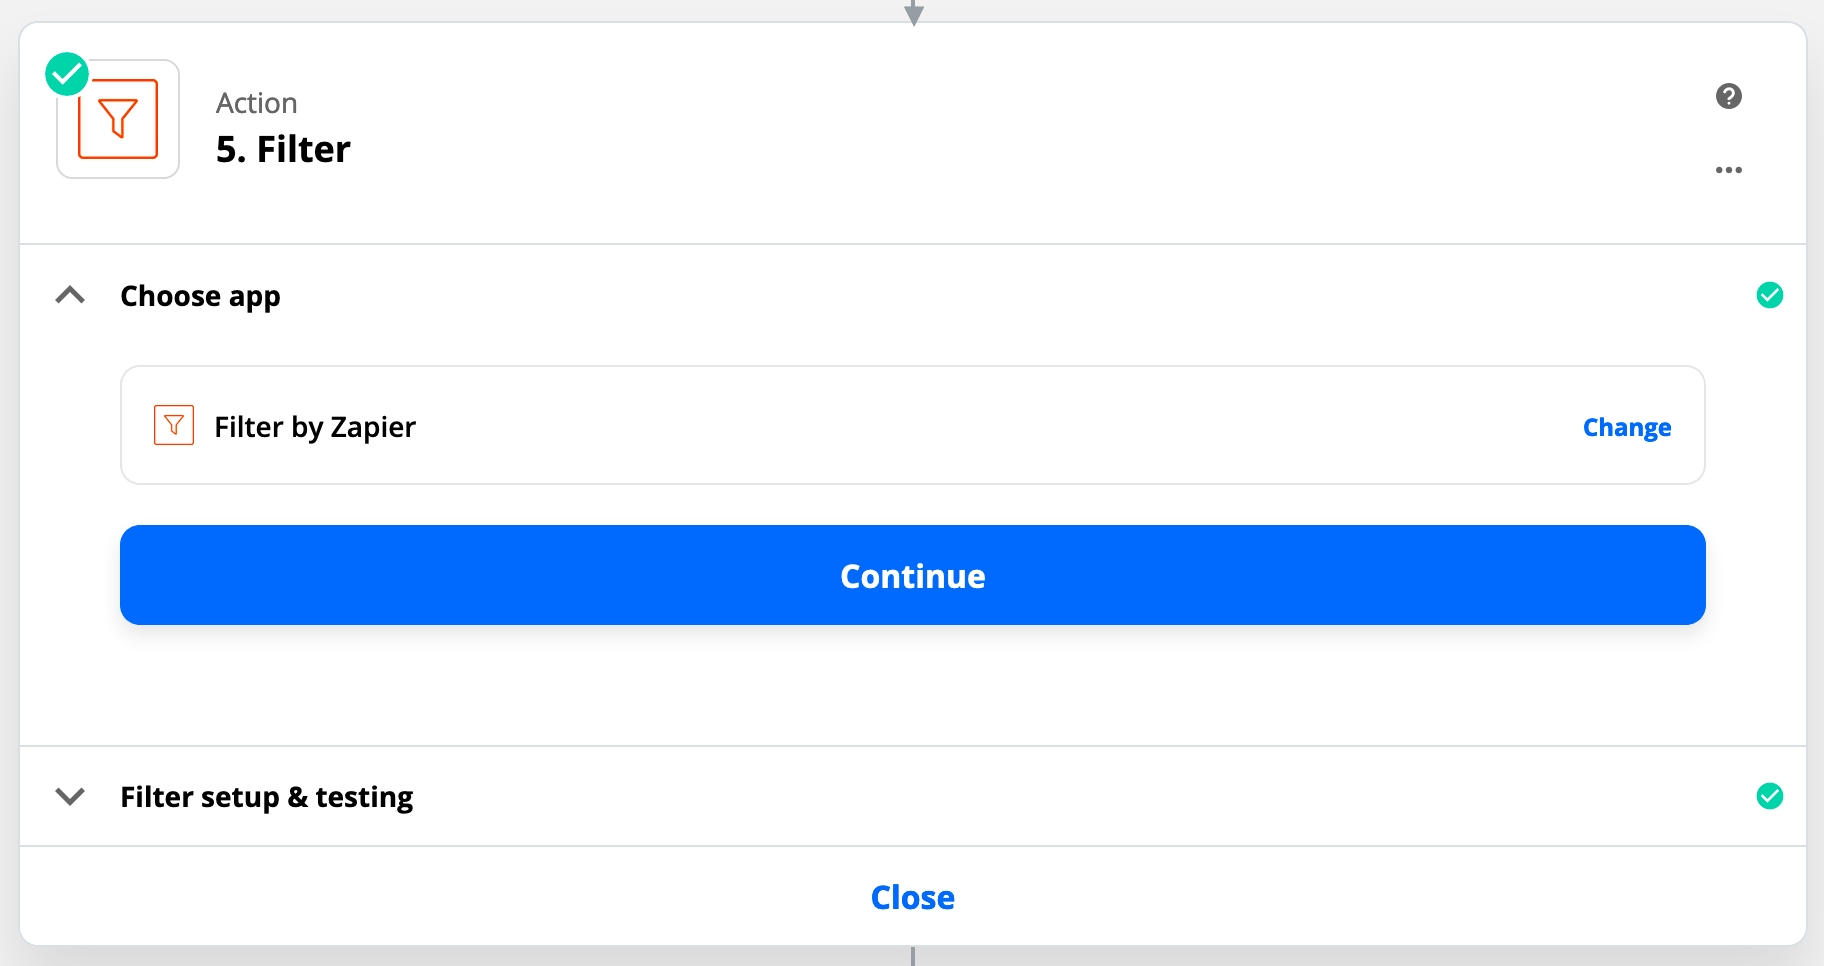
To filter, we need to create "Filter by Zapier" app:

Now you will be able to choose how you want it to be filtered.

Action (send a notification)

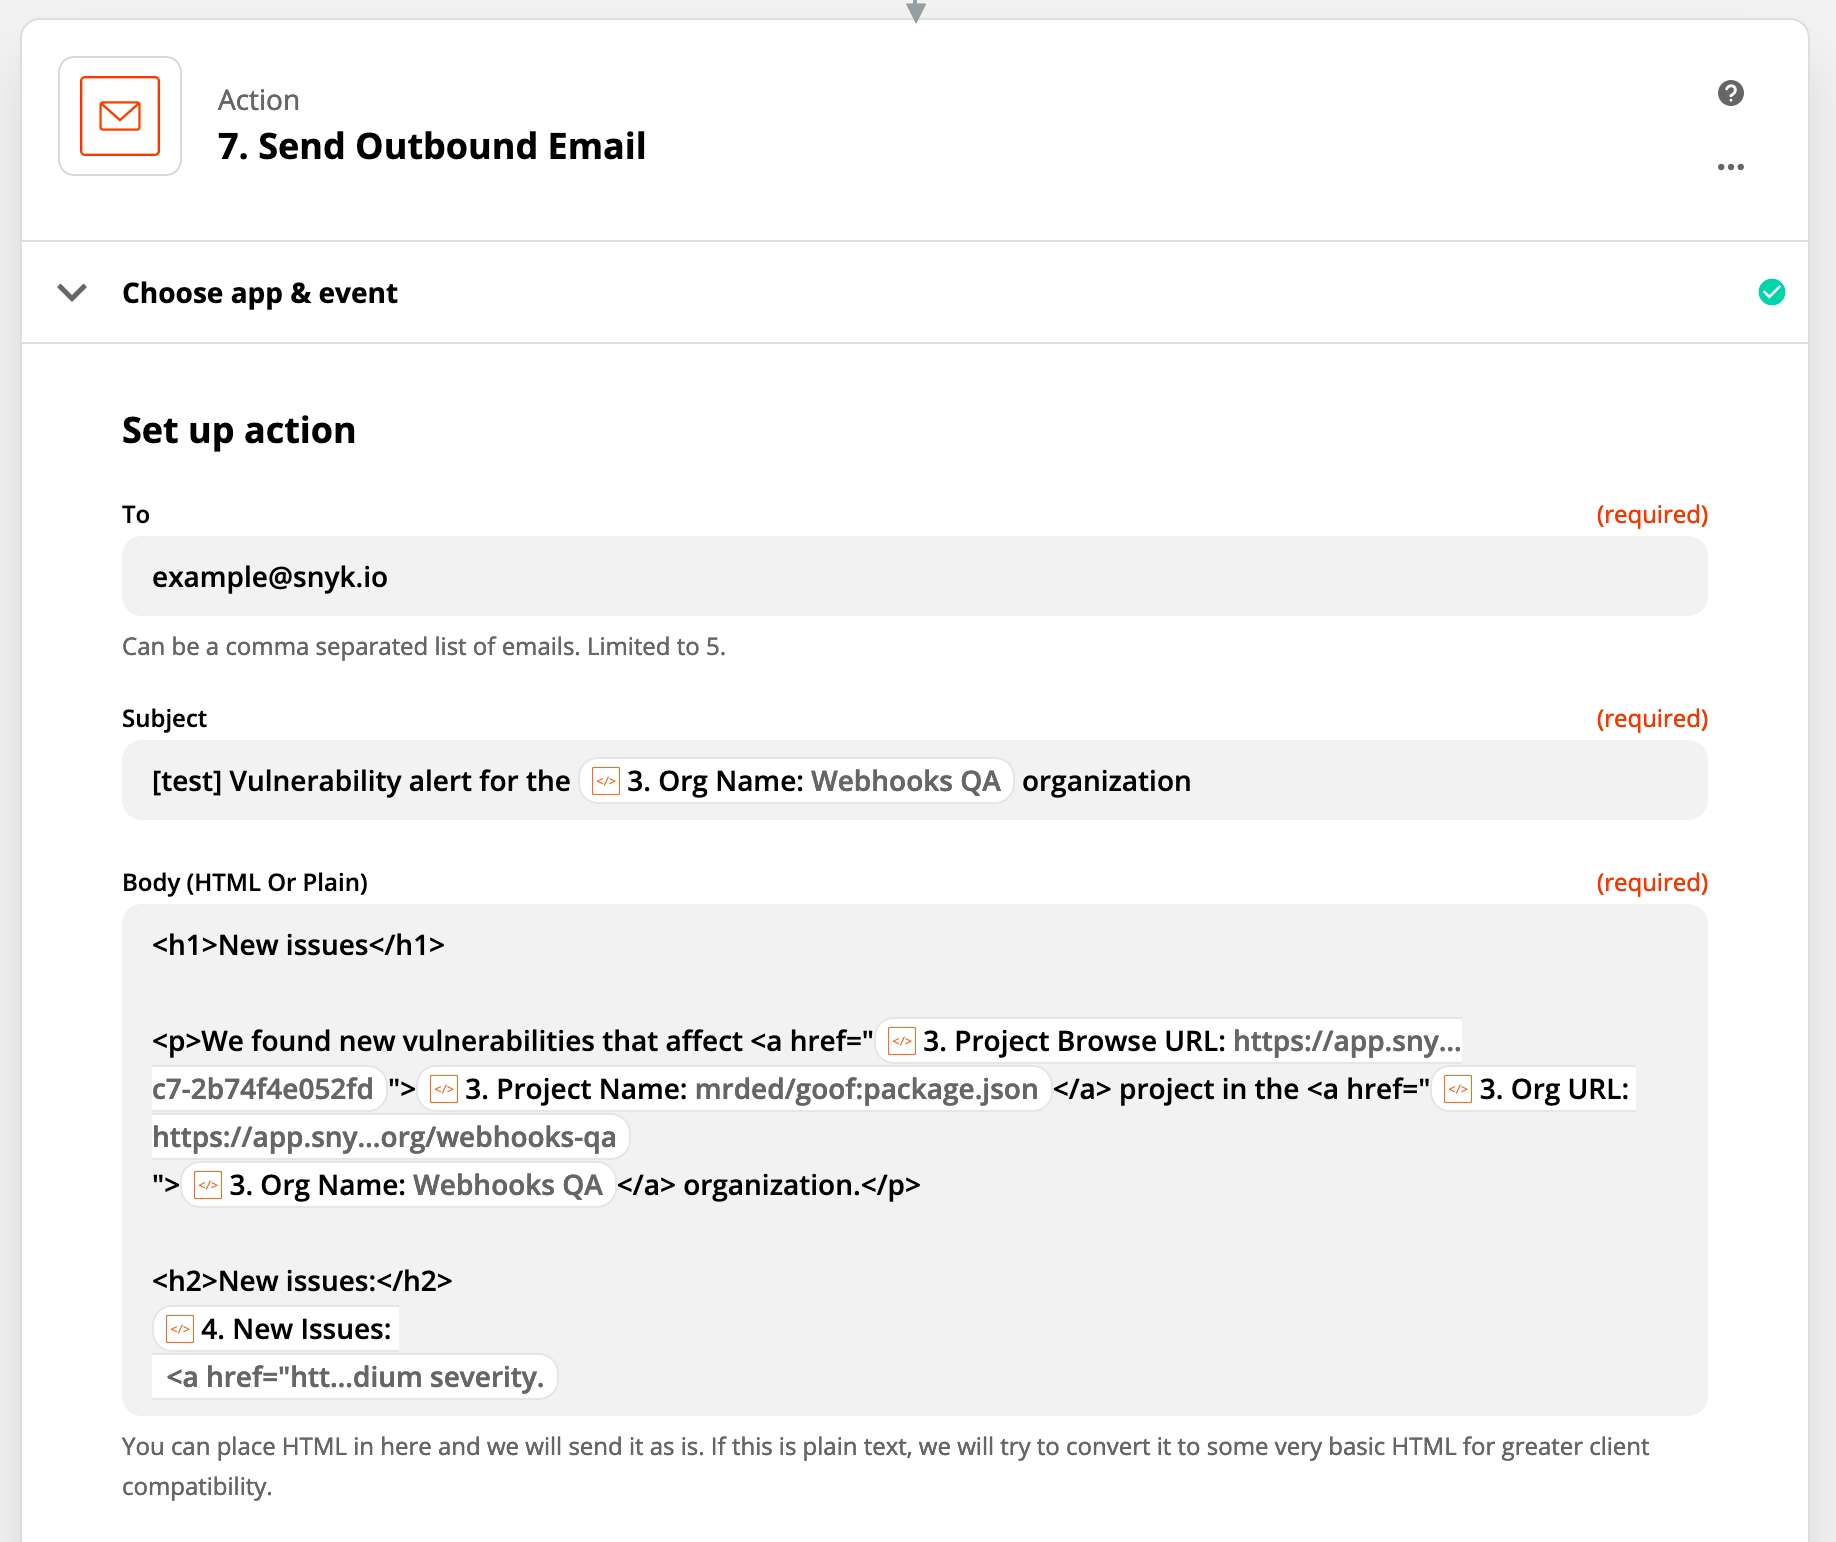
With the actions above, we are able to access all necessary fields, and we can build a notification template. In my case, I choose to send an email. But it can be anything else.

Last updated

More information

Snyk privacy policy

© 2023 Snyk Limited | All product and company names and logos are trademarks of their respective owners.